Hello again!
I have a makeup look for you today! Here is a list of all products used plus photos of the finished look. (Scroll to the bottom of the post if you just want to see the finished product.)
Here we go!
The Products
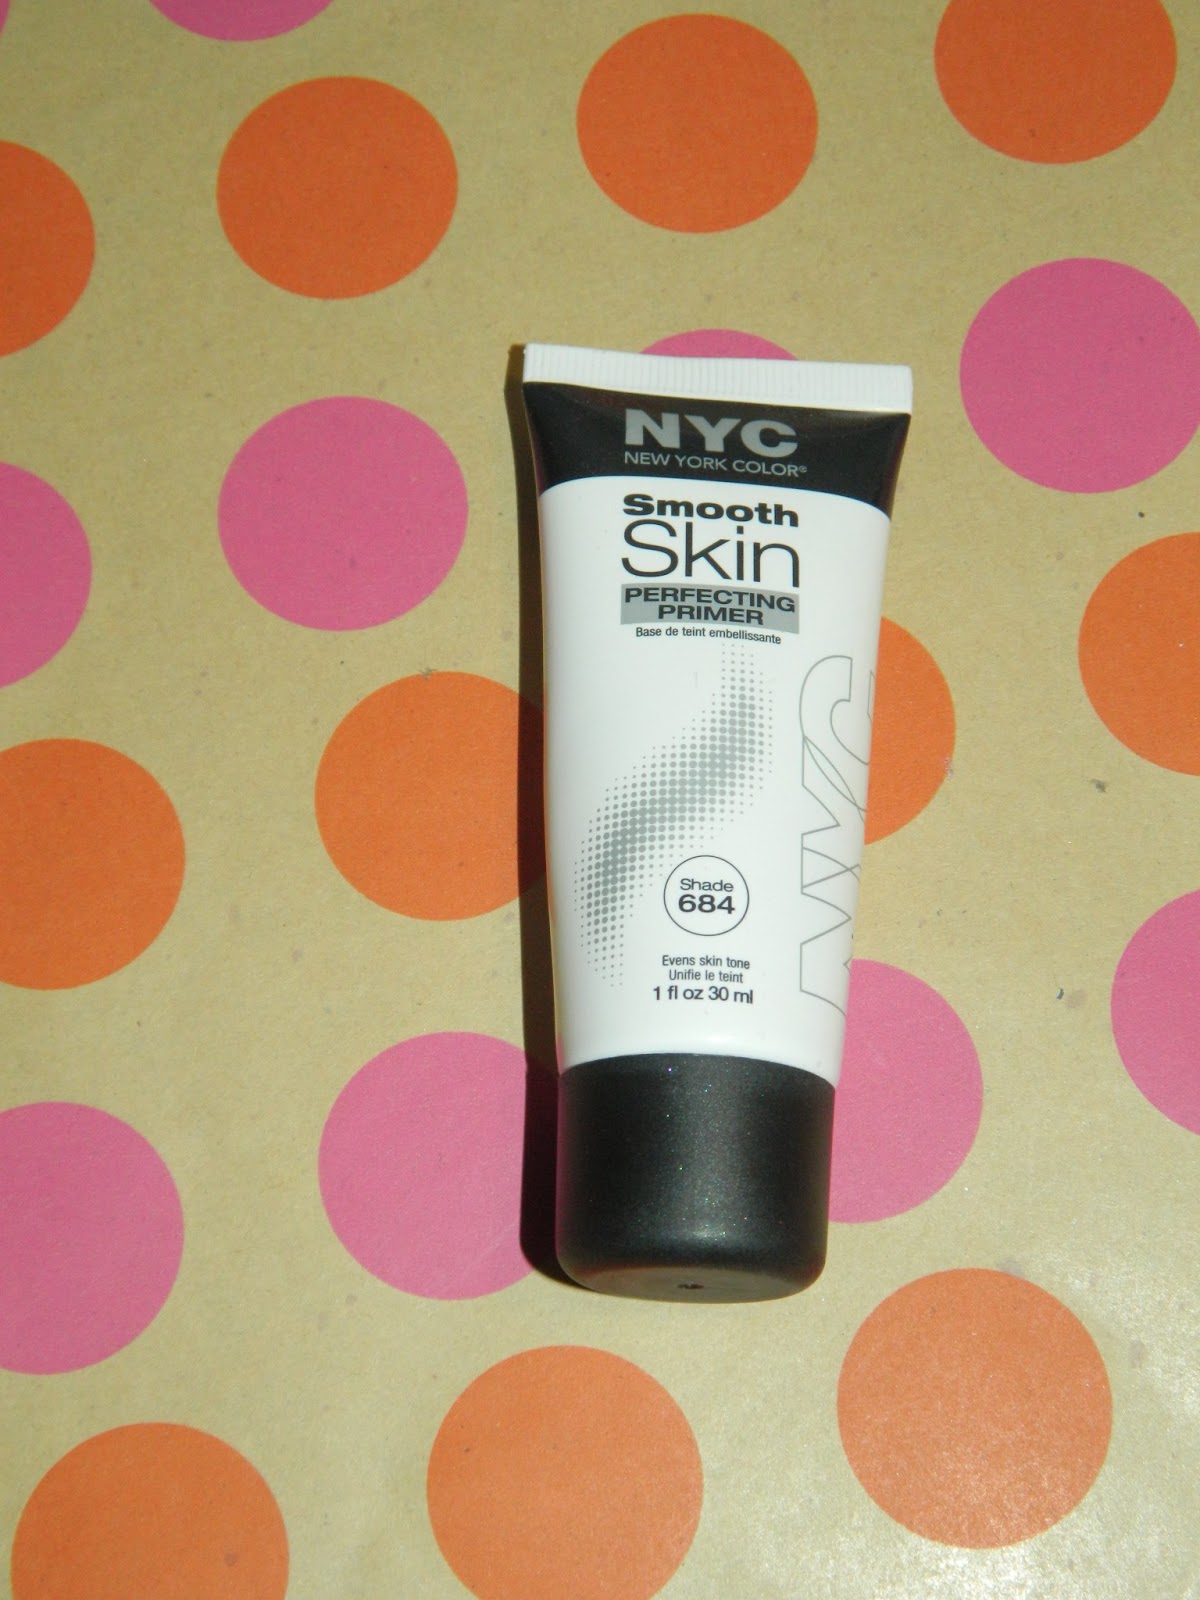
Of course I started with face primer! I applied it all over my face. I used NYC's Smooth Skin protecting primer. :)

Next up is foundation. I use NYC's Smooth Skin Liquid Foundation. I'm not sure what shade this is and I couldn't find it on the bottle.


Blush! I lightly applied an "elf" blush in the color Twinkle Pink on my cheeks up to my hairline under my temple.


Slightly heavier this time, I used another "elf" blush from their Bronzer and Blush duo all over the first coat of blush and also used the bronzer to lightly contour my cheekbones, temples, forehead and jawline. There were no product names on this one.
(this is where I highlighted my face. I just took a white face powder and lightly applied it to the highest points of my face.)

Prime your eyes! This is the "elf" eyelid primer. (psst! It's rumored to be a dupe of the Urban Decay Primer Potion, but this is $1!)

SHIMAH! Next I used an "elf'" eye-shadow stick in the color, Rock Out, all over my lid and as close to my bottom lash line as I could manage! I love this color, it's bronze and silver together, which means you can do golds or silvers with it and look fabulous!

On to the powders! I used my NYX 78 color palette. None of these colors have identified names, so please stay with me! I used this dark grey/silver shimmer eye-shadow in my outer "V" and on the outer two thirds of my crease and blended well!

I took a shimmery black to my outer corner. I blended this in small circles on JUST the outside corner of my crease. I also smoked this out to the outer two thirds of my lower lash line.

Not quite as black, but not quite as grey. Oddly enough I used this dark color on the inner third of my crease and blended it into the lighter grey and used it to help transition the black out to create more of a smokey look.

Yes, this is a face powder, But I needed something to set my eye-shadow stick. Put this over any remaining shadow that is not set.

Highlights anyone? Put this on the highest point of your lid and blend vertically. This just helps make your eyes look bigger. I also put this on the inner third of my bottom lash line.

I used a shimmery white to highlight my brow-bone and the inner corner of my eye.

Wing that eye! use liquid, gel, or pencil liner. Whatever is your preference. Don't make it too dramatic though, the eye-shadow is quite dark.

I took a pencil for this step- Waterlines! I also applied some on the outer third of my bottom lash line.

Curl your lashes!


(This is where you would want to apply false lashes if you would like.)
I use two mascaras in one look, the first one goes on thickly on the top lashes, and kind of lightly on the bottom. Then use a second brand with a differently shaped brush to make them look super dramatic!


Simple lips! I lightly dabbed NYC's "Snowcone" on my lips and tada! You're done!
The Tools
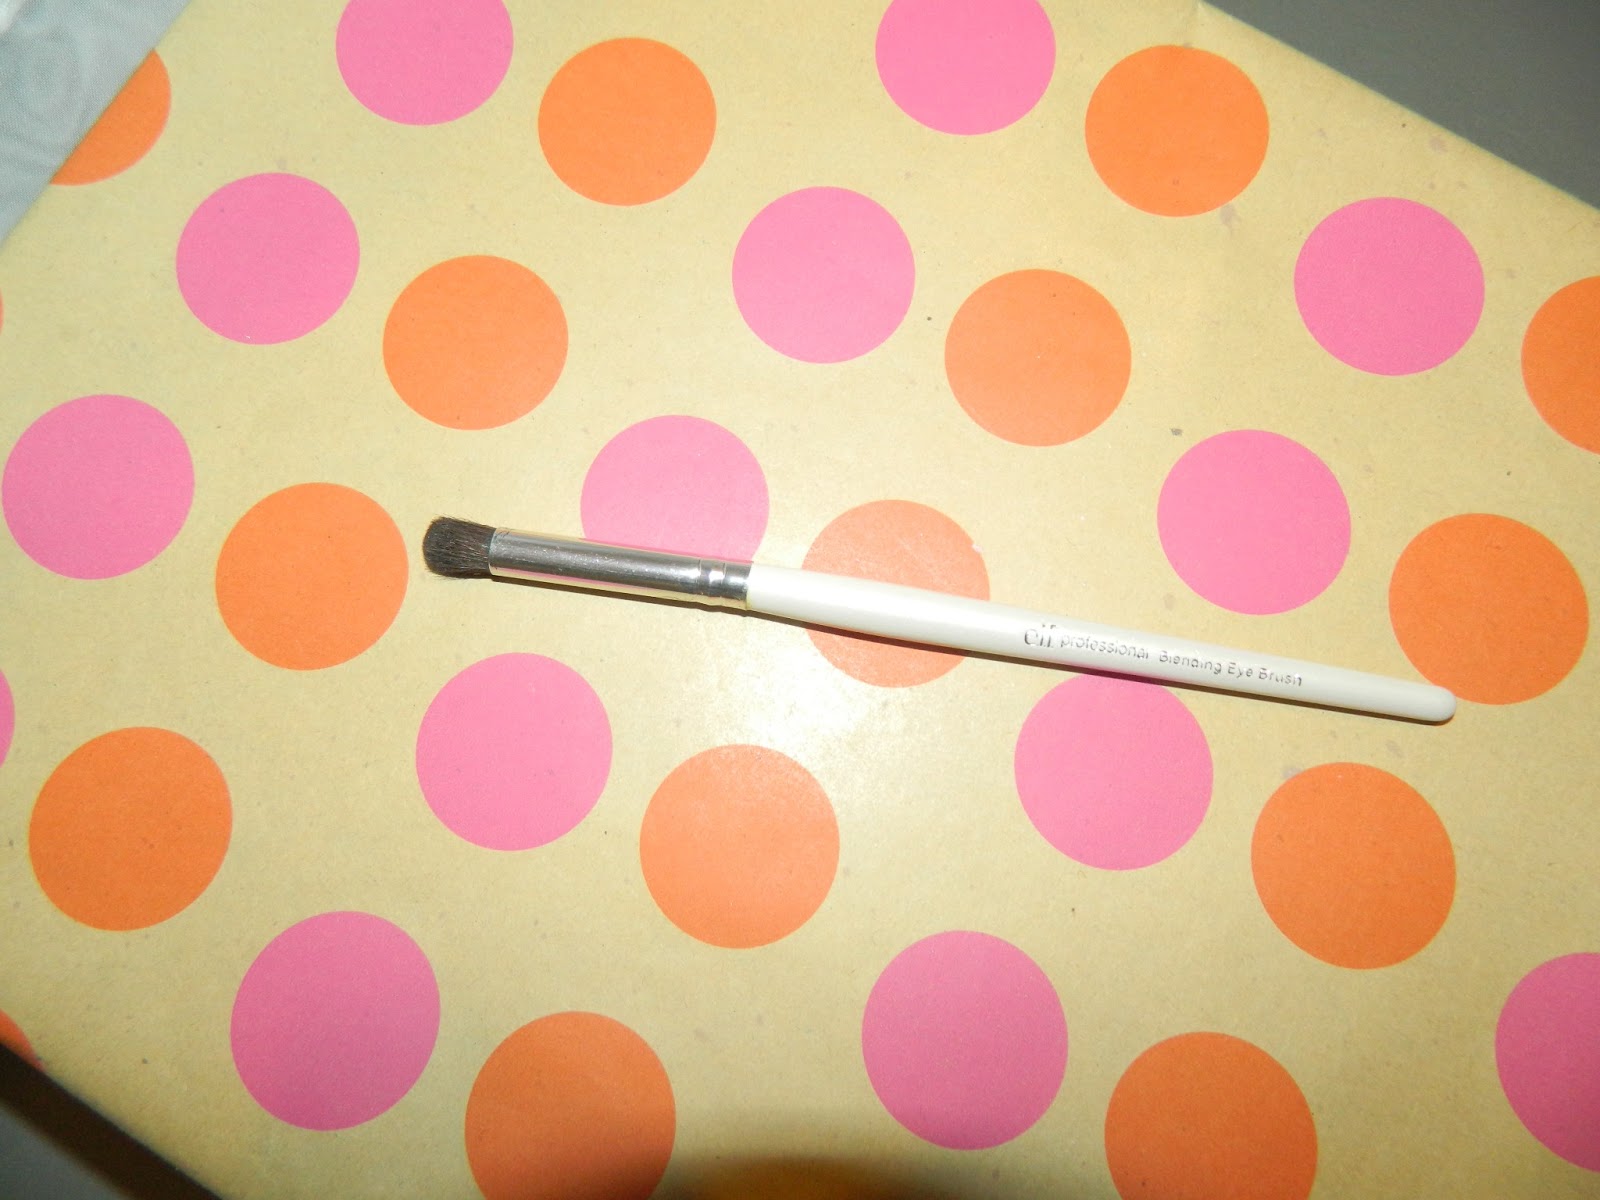
This is the "elf" blending brush. It's just a circular brush used for blending anything and everything. this is by far my favorite eye brush. I used it for almost everything in this look.

The "elf" C shaped brush. I used this one for highlighting my eyes.

"elf" angled brush! I used this one for that small highlight in the middle of my eyelid. You could also use your finger or a sponge brush for this.

This is my small angled brush from Claire's. I used this for eye-shadow under my eyes.

This is my best friend. The foundation brush that I found at Walmart. :)
The Finished Product!


I hope you were able to follow that! The next one will be better, I promise!
No comments:
Post a Comment